 bancika
2.4 KiB
Building the Project
This tutorial assumes that you have a newer version of Eclipse with working Ant and Java 1.6.0_45 installed. It also assumes that you have pulled the latest version of the code from the main Git repository. Read this document if you need help with getting the source code.
DIYLC consists of three main projects:
- diylc-core contains all the logic of the application without the knowledge of the GUI or specific components.
- diylc-library contains all the components that come with DIYLC. Depends on diylc-core project.
- diylc-swing contains all the GUI code. Depends on diylc-core project and references diylc-library as a JAR.

Step 0: configure Ant
Go wo "Window" -> "Preferences" -> "Ant" -> "Runtime" and add "/diylc-swing/ant-lib/jarbundler-2.2.0" to the "Ant Home Entries" library.

Step 1: build diylc-core
Find build.xml file directly in the diylc-core project folder, right click and select "Run As" -> "Ant Build"

If the build went fine, you should see something like this in the console.
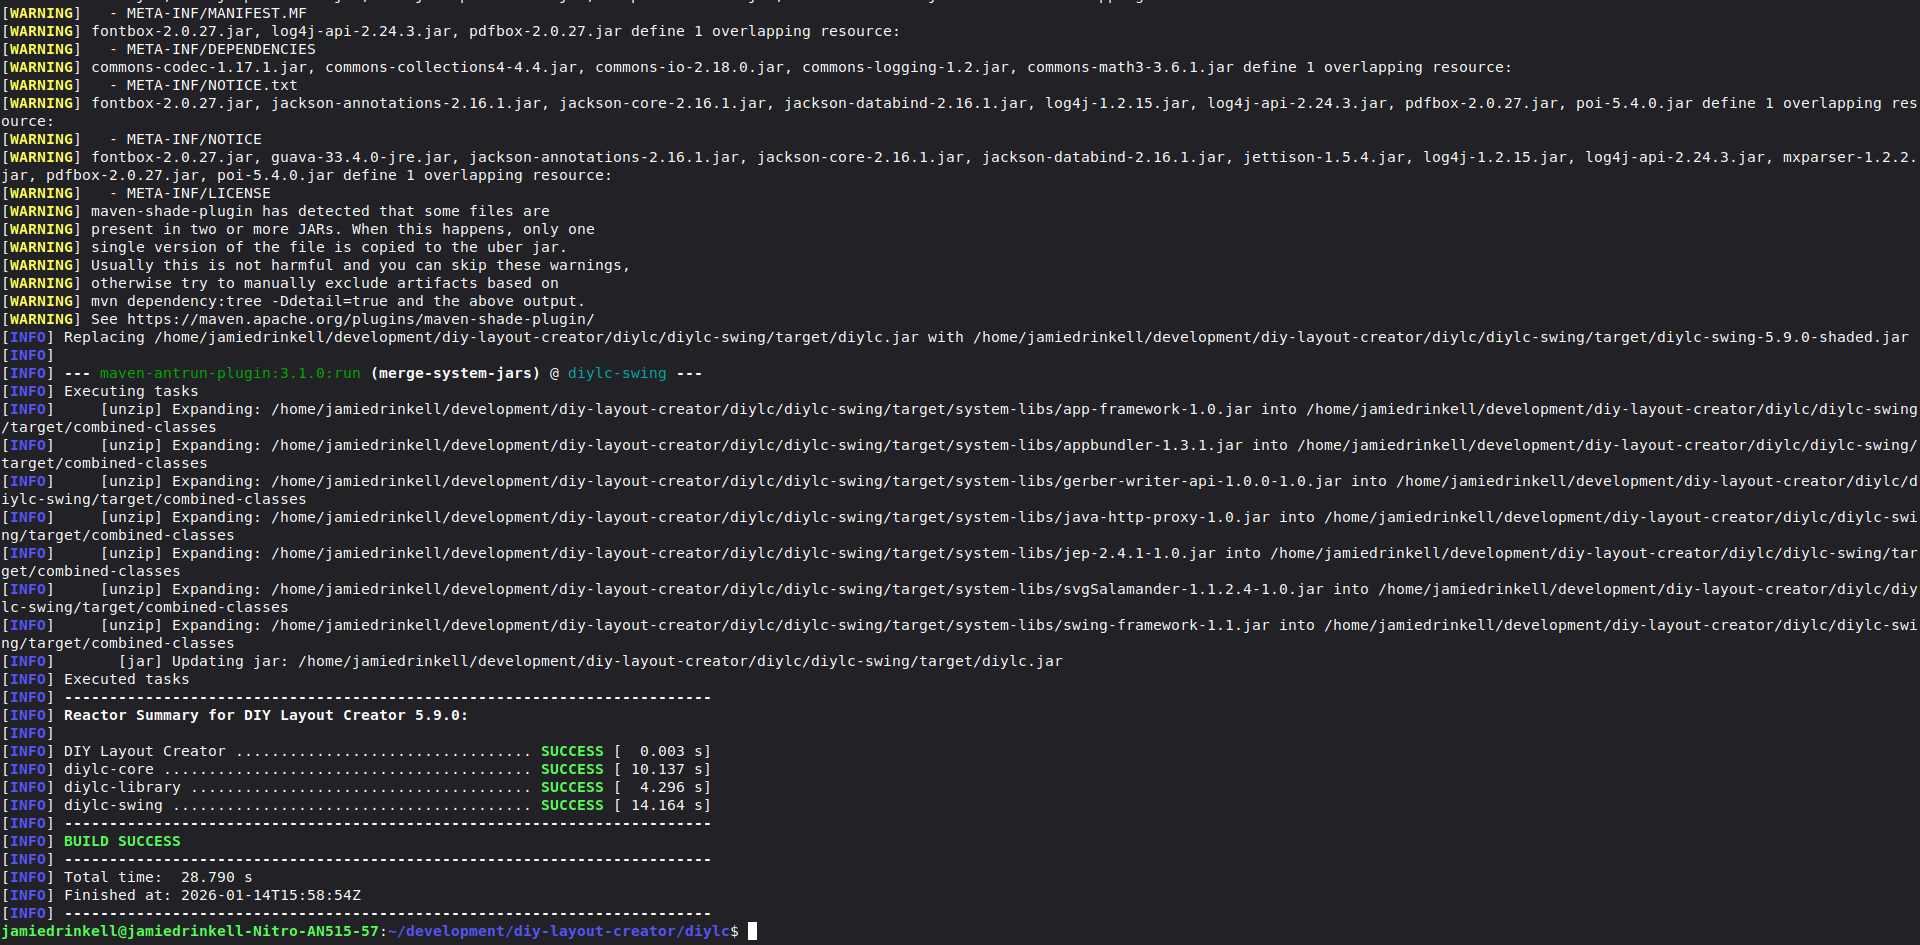
One common error occurrs when there are multiple Java versions installed and Ant is not configured to use the correct one. In that case, instead of "Run As" -> "Ant Build", click on "Run As" -> "Ant Build..." to open Ant configuration before running the build and make sure that JDK 1.6.0_45 is selected.

Step 2: build diylc-library
Repeat the Step 1, but for diylc-library
Step 3: build diylc-swing
Repeat the Step 1, but for diylc-swing
Step 4: run diylc-swing
Now we can run the application. Find "DIYLCStarter.launch" file in diylc-swing project. Right click and select "Run As" -> "DIYLCStarter".
If everything went well, the application should start.